Materials Needed
- Bleach: A powerful cleaner for fabric sections, but should be used cautiously on leather to avoid damage.
- Nylon Brush: A soft-bristled brush for scrubbing without scratching the leather surface.
- Hydrogen Peroxide: A gentle alternative to bleach for removing tough stains.
- Baking Soda: Excellent for deodorizing and removing grime from the soles and edges.
- Shoe Conditioner: Helps keep leather soft, moisturized, and protected after cleaning.
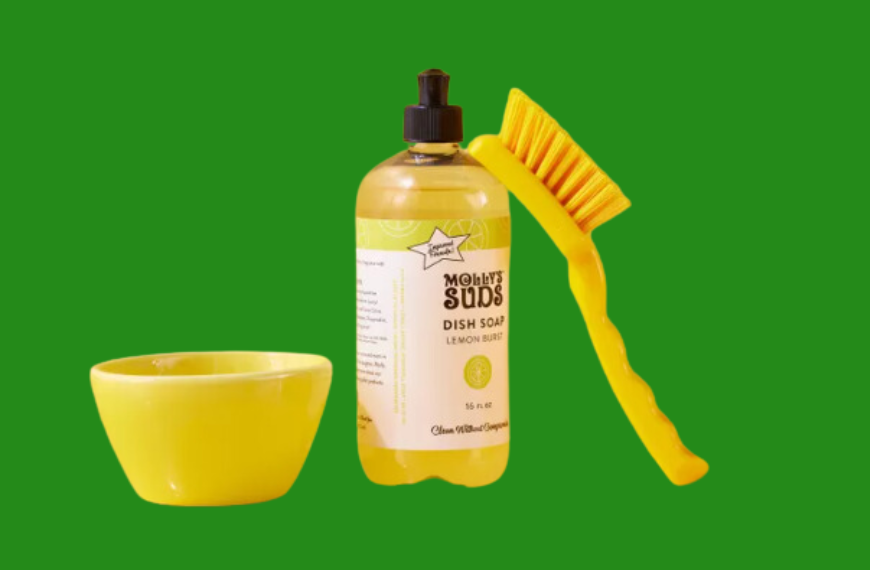
- Dish Soap: A mild, non-abrasive soap to gently clean the leather without harming it.
- White Vinegar: A natural cleaner that can tackle tough stains while being safe on leather.
- Lemon Essential Oil: Provides a fresh scent while helping to clean and condition leather.
- Microfiber Cloth(s): Soft, non-abrasive cloths that are perfect for wiping down and drying leather.
- Mr. Clean Magic Eraser: Ideal for removing scuff marks from soles and rubber edges.
- Suede Brush: If your sneakers have any suede accents, this specialized brush will help clean and restore the nap.
- Suede Protector: A spray to protect suede areas from future dirt and stains.
- Steamer: Useful for loosening tough dirt and debris from fabric and hard-to-reach areas without harsh chemicals.
How Often to Clean White Leather Sneakers
- Daily Wear: If you wear your white leather sneakers daily, you should perform a light cleaning at least once a week. This involves brushing off dirt and wiping down the surface with a damp cloth. Regular maintenance prevents the buildup of grime and makes more thorough cleanings easier.
- Heavy Use or Exposure to Dirt: For sneakers exposed to heavy use or dirty environments, such as during outdoor activities or in muddy conditions, you should clean them more frequently. After each use in such conditions, it’s a good idea to remove visible dirt and stains to prevent them from setting in.
- Stains and Spills: Whenever you notice stains or spills, address them as soon as possible. Prompt cleaning prevents stains from setting and makes them easier to remove. For example, if you accidentally spill a drink on your sneakers, gently blot the area with a clean cloth and clean it as soon as possible.
- Seasonal Cleanings: Perform a more thorough cleaning and conditioning of your white leather sneakers at least once every season. This involves a complete cleaning, conditioning, and inspection for any signs of wear or damage. Seasonal cleanings help maintain the leather’s suppleness and prevent long-term damage.
- Storage Considerations: If you store your sneakers for extended periods, clean them before putting them away. Dust and dirt can attract moisture and lead to mildew or mold growth. Store them in a cool, dry place and consider using sneaker bags or shoe trees to help maintain their shape.
Cleaning White Leather Sneakers Using a Magic Eraser

- Prepare Your Sneakers: Remove the laces and insoles from your sneakers before you start. This allows you to clean all areas more thoroughly and prevents the laces from getting damaged.
- Wet the Magic Eraser: Lightly dampen the magic eraser with water. Squeeze out any excess water to avoid over-saturating the leather.
- Test on a Small Area: Before applying the magic eraser to the entire sneaker, test it on a small, inconspicuous area to ensure it doesn’t damage or discolor the leather.
- Gently Clean the Stains: Rub the magic eraser gently over the stained or scuffed areas of the sneakers. Use a light, circular motion to lift dirt and stains from the surface. Avoid applying too much pressure, as excessive abrasion can damage the leather.
- Wipe Down the Sneakers: After cleaning with the magic eraser, use a damp cloth to wipe down the sneakers. This helps remove any residue left by the eraser and prevents buildup.
Step 1: Wet the Magic Eraser
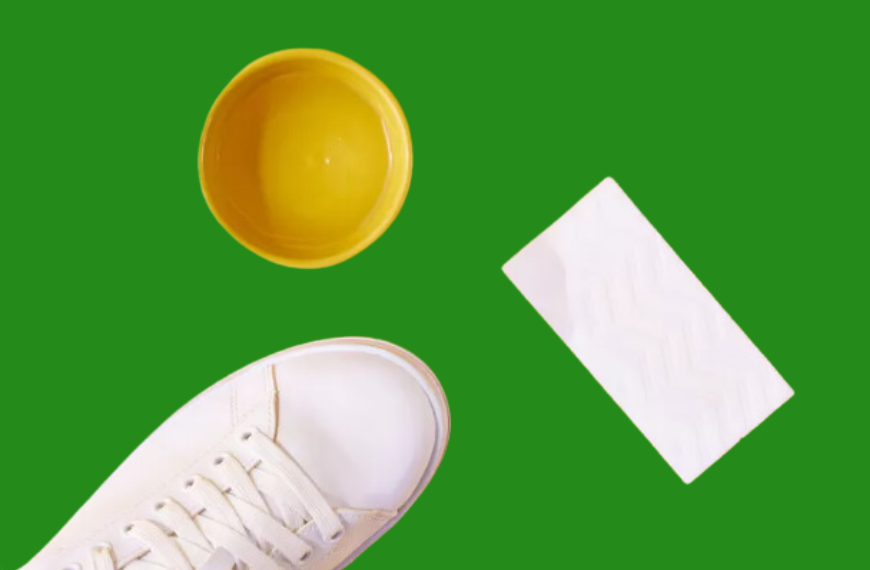
- Moisten the Eraser: Hold the magic eraser under lukewarm running water. Gently squeeze it to ensure it gets evenly moist. The goal is to hydrate the eraser without making it too wet. It should be damp enough to clean effectively but not so saturated that it drips.
- Remove Excess Water: After wetting, squeeze the eraser to remove any excess water. This is crucial because too much water can damage the leather or make the cleaning process less effective. The eraser should be damp but not dripping.
- Prepare for Use: Once the eraser is adequately dampened, it’s ready for use. If you find the eraser becoming too dry during the cleaning process, you can re-dampen it by repeating these steps.
Step 2: Rub Off Dirt or Grime

- Test on a Small Area: Before tackling the entire sneaker, test the magic eraser on a small, inconspicuous area. This helps ensure that the eraser doesn’t damage or discolor the leather.
- Gently Rub the Surface: Using the damp magic eraser, gently rub the areas of the sneaker that have dirt, grime, or scuffs. Use a light, circular motion to lift the dirt without applying too much pressure. The melamine foam in the eraser will act as a mild abrasive to scrub away the stains.
- Focus on Problem Areas: Pay extra attention to areas with noticeable stains or grime. For stubborn spots, you may need to rub a bit longer, but always be gentle to avoid damaging the leather. If needed, you can cut the magic eraser into smaller pieces for more precise cleaning.
- Avoid Overuse: While magic erasers are effective, they can be abrasive. Avoid overusing the eraser on any single area to prevent wear or damage to the leather.
- Check Your Progress: Periodically wipe the cleaned area with a damp cloth to check your progress and ensure that you’re not leaving behind any residue or causing damage.
Step 3: Wipe and Dry Shoes

- Wipe Off Residue: Use a clean, damp cloth to wipe down the entire surface of the sneakers. This step helps remove any leftover residue from the magic eraser and any remaining dirt. Gently rub the leather in a circular motion to ensure all areas are cleaned.
- Dry the Sneakers: After wiping off the residue, use a dry, soft cloth to gently pat the sneakers dry. This helps absorb any remaining moisture and prevents water spots. Avoid using paper towels or rough materials, as they can scratch the leather.
- Allow to Air Dry: Let the sneakers air dry completely at room temperature. Avoid placing them in direct sunlight or near heat sources like radiators or hair dryers, as excessive heat can cause the leather to warp or crack.
- Check for Moisture: Once the sneakers appear dry, check inside for any residual moisture, especially if the sneakers were cleaned thoroughly. If needed, use a dry cloth or let them air out a bit longer.
How to Clean White Leather Sneakers With a Scrubbing Paste
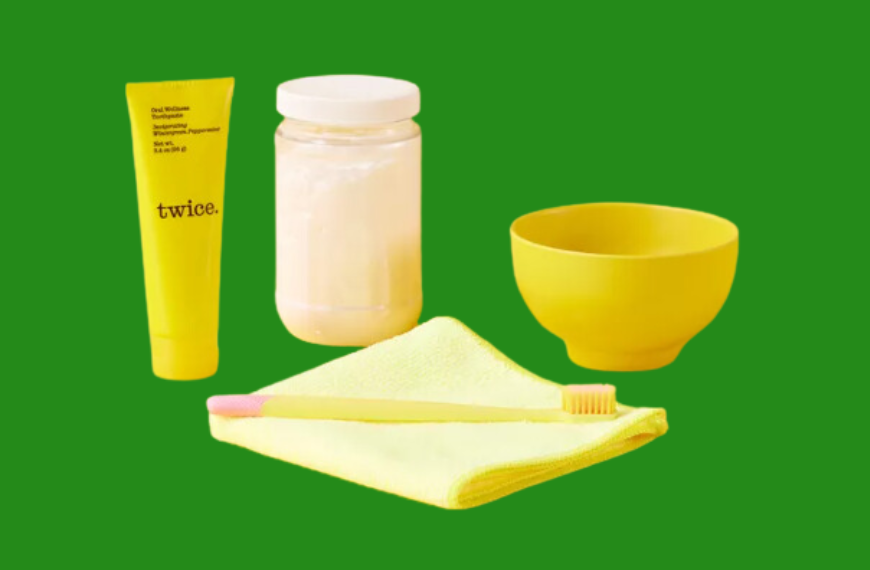
- Prepare Your Supplies: To clean your white leather sneakers with a scrubbing paste, you’ll need:
- A scrubbing paste (you can purchase a commercial cleaner or make your own with baking soda and water)
- A soft-bristled brush or an old toothbrush
- A clean, damp cloth
- A dry cloth
- Remove Laces and Insoles: Clean these separately according to their material. This ensures you can access all parts of the sneaker and prevents the laces from getting damaged.
- Create or Apply Scrubbing Paste:
- Commercial Paste: If you’re using a commercial scrubbing paste, follow the manufacturer’s instructions for application.
- DIY Paste: To make your scrubbing paste, mix equal parts baking soda and water to form a thick paste.
- Apply the Paste: Using a soft-bristled brush or an old toothbrush, apply a small amount of the scrubbing paste to the stained or dirty areas of the leather sneakers. Gently rub the paste into the leather in a circular motion.
- Clean Stubborn Stains: For particularly stubborn stains, let the paste sit for a few minutes to break down the grime. Avoid letting the paste dry completely on the leather.
- Wipe Off the Paste: After cleaning, use a clean, damp cloth to wipe away the paste and any loosened dirt. Make sure to remove all traces of the paste to avoid residue buildup.
- Dry the Sneakers: Use a dry, soft cloth to gently pat the sneakers dry. Ensure you absorb as much moisture as possible to prevent water spots.
- Allow to Air Dry: Let the sneakers air dry completely at room temperature. Avoid drying them in direct sunlight or near heat sources to prevent damage to the leather.
- Condition the Leather: Once the sneakers are fully dry, apply a leather conditioner to restore moisture and keep the leather supple. Follow the conditioner’s instructions for best results.
- Reassemble and Freshen Up: Reinsert the insoles and lace up your sneakers. Optionally, you can sprinkle a little baking soda inside to help absorb any residual odors.
Step 1: Mix the Paste
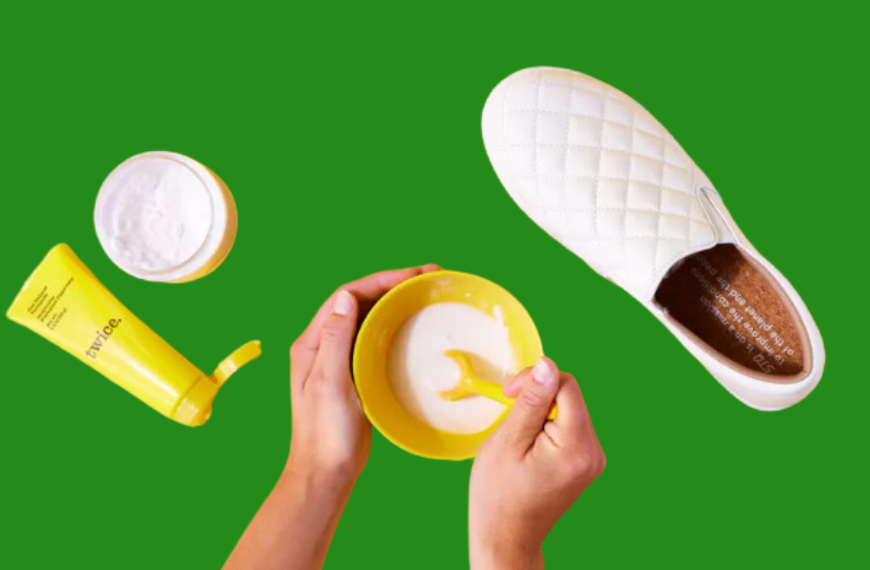
- Gather Ingredients: For a homemade scrubbing paste, you’ll need:
- Baking soda
- Water
- You can also use a commercial scrubbing paste if you prefer, which typically requires no mixing.
- Measure the Ingredients: Start by measuring out equal parts of baking soda and water. For example, use one tablespoon of baking soda and one tablespoon of water. This ratio creates a thick, effective paste for cleaning.
- Combine the Ingredients: Place the baking soda and water into a small bowl. Stir the mixture with a spoon or spatula until it forms a smooth, thick paste. The consistency should be similar to that of a thick toothpaste—spreadable but not too runny.
- Adjust Consistency: If the paste is too thick and difficult to apply, add a little more water, a few drops at a time. If it’s too thin, add a bit more baking soda to thicken it. The ideal paste should be easy to spread but not too watery.
Step 2: Apply and Scrub
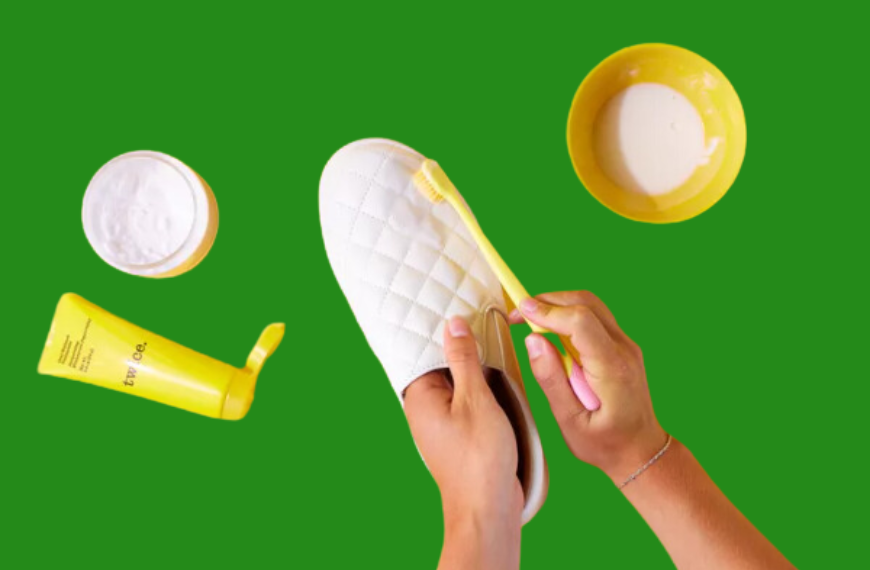
- Apply the Paste: Using a soft-bristled brush or an old toothbrush, scoop a small amount of the scrubbing paste. Gently apply the paste to the stained or dirty areas of your sneakers. Focus on problem spots, such as scuffs or discolorations. For larger areas, you can apply the paste more liberally, but be careful not to overload the leather.
- Scrub Gently: Using the brush or toothbrush, gently scrub the paste into the leather using a circular motion. Avoid applying too much pressure to prevent damaging the leather. The goal is to work the paste into the stains and grime, loosening them from the surface.
- Work in Sections: If you’re cleaning a large area or multiple spots, work in small sections. This ensures you can give each area proper attention and avoid letting the paste dry out before you can wipe it off.
- Address Stubborn Stains: For particularly stubborn stains, let the paste sit on the leather for a few minutes before scrubbing. This allows the paste to break down the grime more effectively. Be careful not to let the paste dry completely on the leather, as this can make it harder to remove.
- Check Your Progress: Periodically wipe the area with a damp cloth to check your progress. This helps you gauge whether the stains are lifting and prevents you from over-scrubbing.
Step 3: Wipe and Dry Shoes
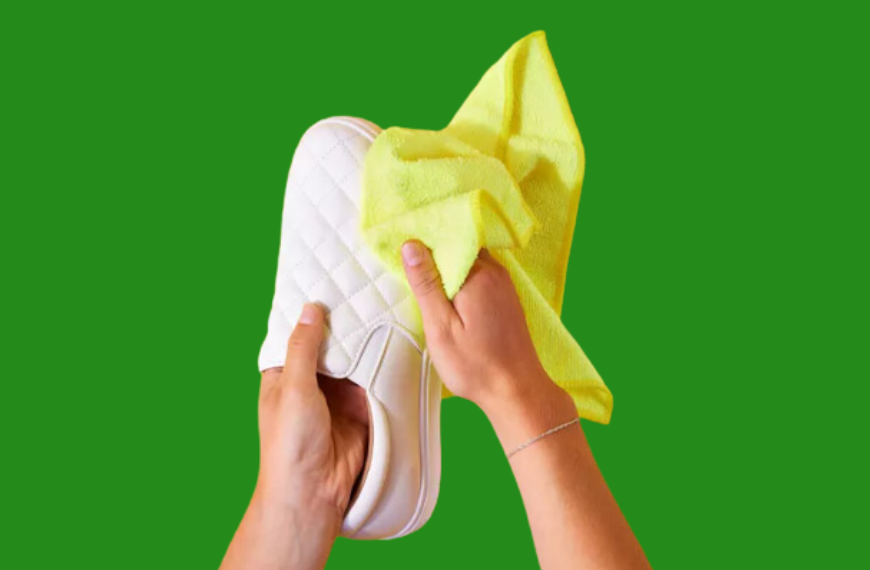
- Wipe Off the Paste: Use a clean, damp cloth to gently wipe away the scrubbing paste and any loosened dirt from the sneakers. Start by wiping in a circular motion to remove the paste from the surface of the leather. Make sure to get into all the crevices and seams where paste might have accumulated.
- Rinse the Cloth Frequently: As you clean, rinse the cloth frequently in clean water to remove residual paste and dirt. This prevents you from spreading grime around and ensures a thorough clean.
- Dry the Sneakers: After removing the paste, use a separate dry, soft cloth to gently pat the sneakers dry. This helps absorb any remaining moisture and prevents water spots.
- Allow to Air Dry: Let your sneakers air dry completely at room temperature. Place them in a well-ventilated area away from direct sunlight or heat sources, which can cause the leather to warp or crack.
- Check for Residual Moisture: Once the sneakers appear dry, check inside and around the seams for any residual moisture. Use a dry cloth to ensure all areas are fully dry.
How to Clean White Leather Sneakers With Soap
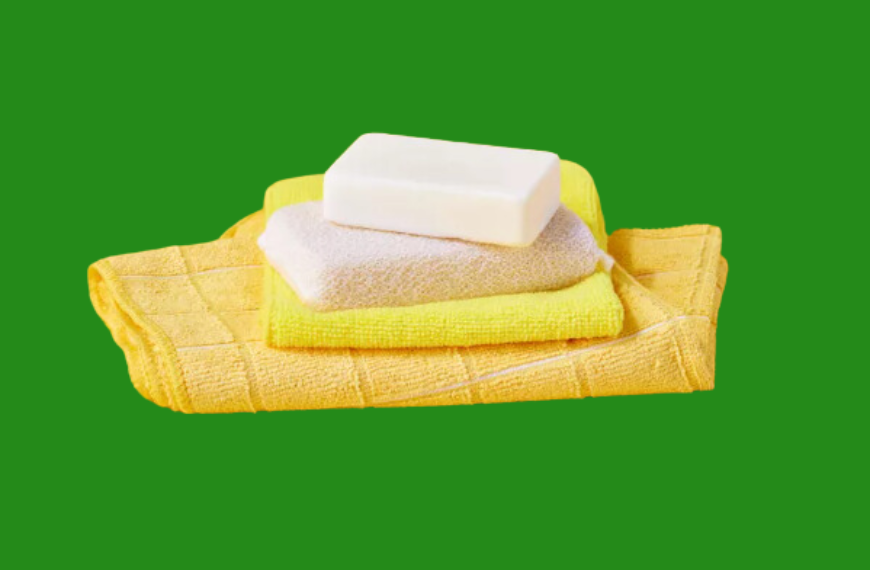
- Gather Your Supplies: To clean your white leather sneakers with soap, you’ll need:
- Mild liquid soap (like dish soap or a gentle hand soap)
- Warm water
- A soft-bristled brush or a clean cloth
- A damp cloth for rinsing
- A dry cloth for drying
- Prepare the Soap Solution:
- In a small bowl, mix a few drops of mild liquid soap with warm water. The water should be warm but not hot, as hot water can damage leather.
- Remove Laces and Insoles: Take out the laces and insoles from your sneakers. Clean these separately if needed. This allows you to access all parts of the sneaker more effectively.
- Apply the Soap Solution: Dip the soft-bristled brush or clean cloth into the soapy water. Gently apply the soapy mixture to the leather sneakers, focusing on the dirty or stained areas. Use circular motions to work the soap into the leather, lifting dirt and grime.
- Clean the Entire Surface: For an even clean, gently scrub the entire surface of the sneakers. Be sure to address all areas, including seams and textured parts. Avoid using too much water to prevent over-saturating the leather.
- Wipe Off Excess Soap: After scrubbing, use a clean, damp cloth to wipe away the soap and dirt from the sneakers. This helps remove any soap residue and prevents it from drying on the leather.
- Dry the Sneakers: Use a dry, soft cloth to gently pat the sneakers dry. This helps absorb any remaining moisture and prevents water spots. Avoid rubbing the leather harshly.
- Allow to Air Dry: Let the sneakers air dry completely at room temperature. Place them in a well-ventilated area away from direct sunlight and heat sources, which can cause the leather to crack or become discolored.
- Condition the Leather: Once the sneakers are fully dry, apply a leather conditioner to restore moisture and maintain the leather’s suppleness. Follow the conditioner’s instructions for best results.
- Reassemble and Freshen Up: Reinsert the insoles and lace up the sneakers. Optionally, you can sprinkle a little baking soda inside to help absorb any residual odors.
Step 1: Add Soap to a Cloth
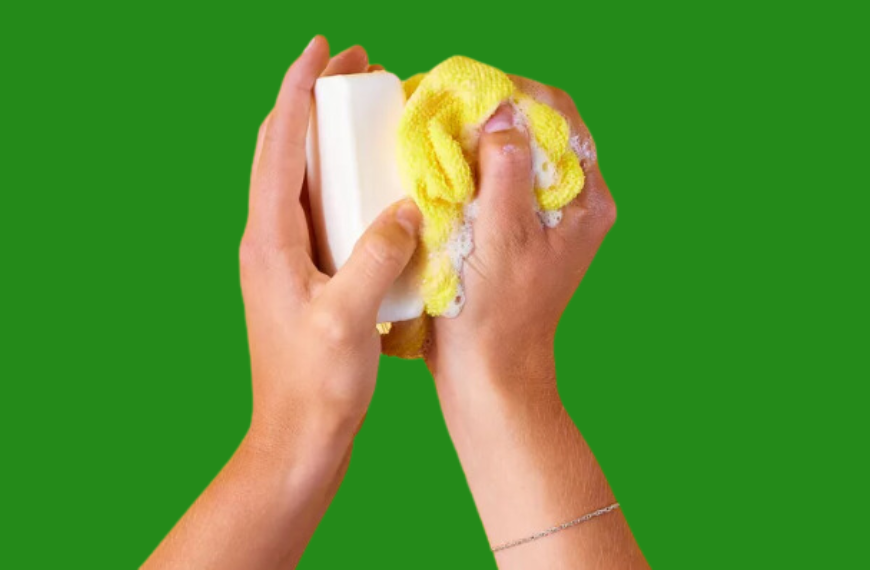
- Choose a Clean Cloth: Select a soft, clean cloth that’s gentle on leather, such as a microfiber cloth or a soft cotton cloth. Avoid using rough or abrasive materials, as they can damage the leather.
- Prepare the Soap Solution:
- In a small bowl, mix a few drops of mild liquid soap (like dish soap or a gentle hand soap) with warm water. Stir the solution to combine the soap and water thoroughly. The mixture should be soapy but not overly frothy.
- Wring Out Excess Moisture:
- Gently wring out the cloth to remove any excess moisture. The cloth should be just damp enough to spread the soap evenly across the leather without dripping.
- Ready for Cleaning:
- Once the cloth is properly dampened with the soapy solution, it’s ready to be used for cleaning your sneakers.
Step 2: Apply and Scrub

- Apply the Soap Solution:
- Gently press the damp cloth onto the surface of your sneakers, ensuring that the soap solution is distributed evenly. Focus on areas with visible dirt, stains, or grime. Avoid soaking the leather; instead, lightly apply the soap solution to the surface.
- Scrub the Leather:
- Using the cloth, begin to scrub the sneakers in gentle, circular motions. Start with the areas that have the most dirt or stains, and work your way across the entire surface of the sneaker. This helps lift and remove the grime without scratching the leather.
- Use Light Pressure:
- Apply light pressure while scrubbing to avoid damaging the leather. The goal is to loosen and lift dirt, not to aggressively scrub the surface. Be especially gentle around seams and textured areas.
- Check for Stubborn Stains:
- For particularly stubborn stains, you might need to scrub a bit more. Apply a small amount of extra soap solution directly to the stain and gently rub it in. Let it sit for a minute if necessary, then continue scrubbing.
- Wipe Away Excess Soap:
- Periodically, use a clean, damp cloth to wipe away the excess soap and loosened dirt from the sneakers. This helps prevent soap residue from drying on the leather and ensures that all grime is removed.
Step 3: Wipe and Dry Shoes
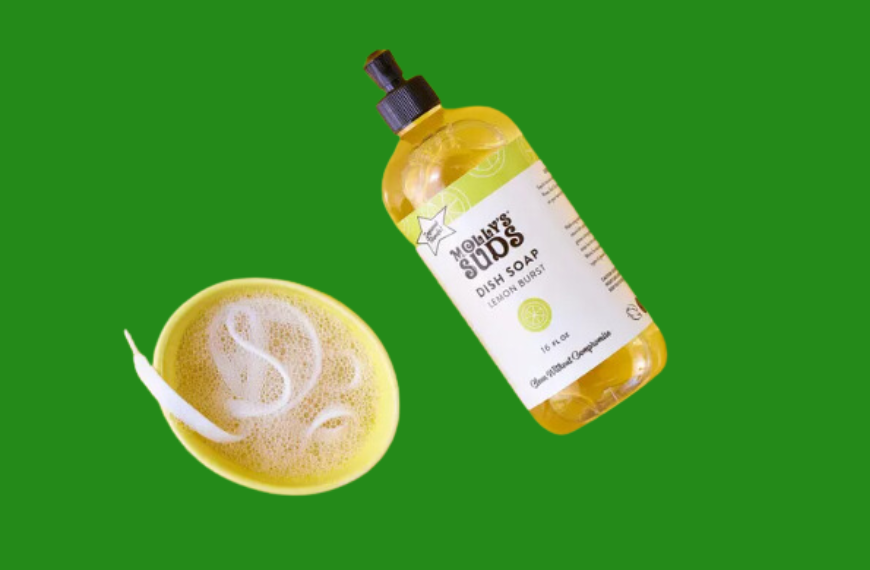
- Wipe Off Excess Soap:
- Use a clean, damp cloth to wipe away the soapy solution and any loosened dirt from the sneakers. Gently rub in a circular motion to remove all traces of soap and grime. Make sure to get into the seams and crevices where soap and dirt may have accumulated.
- Rinse the Cloth Frequently:
- As you clean, rinse the cloth frequently in clean water to remove residue and prevent spreading dirt around. This ensures that you’re not reapplying soap and grime to other parts of the sneaker.
- Dry the Sneakers:
- After removing the soap, use a dry, soft cloth to gently pat the sneakers dry. This step helps absorb any remaining moisture and prevents water spots. Be sure to gently dab rather than rub, as vigorous rubbing can damage the leather.
- Allow to Air Dry:
- Place the sneakers in a well-ventilated area to air dry completely. Avoid placing them in direct sunlight or near heat sources like radiators or hair dryers, as excessive heat can cause the leather to warp, crack, or discolor.
- Check for Residual Moisture:
- Once the sneakers are dry, check both the surface and inside for any residual moisture. Use a dry cloth to ensure all areas are fully dry, particularly inside the sneaker where moisture can linger.
How to Clean Shoelaces
- Remove the Shoelaces:
- Start by taking the shoelaces out of your sneakers. This allows you to clean them thoroughly without any obstruction.
- Soak the Shoelaces:
- Place the shoelaces into the soapy water. Let them soak for about 15-30 minutes. This helps to loosen any dirt, grime, or stains.
- Scrub the Shoelaces:
- After soaking, use a soft brush, such as a toothbrush, to gently scrub the shoelaces. Focus on any areas with visible stains or dirt. Use gentle, back-and-forth motions to avoid damaging the laces.
- Rinse Thoroughly:
- Rinse the shoelaces under clean, running water to remove all soap and loosened dirt. Make sure to rinse until the water runs clear to ensure no soap residue remains.
- Check for Stains:
- If stains persist, you can apply a small amount of stain remover directly to the affected areas and gently scrub again. Rinse thoroughly after applying the stain remover.
- Dry the Shoelaces:
- Gently squeeze out excess water from the shoelaces by pressing them between two clean towels. Avoid wringing or twisting the laces, as this can distort their shape.
- Air Dry:
- Lay the shoelaces flat on a clean, dry towel or hang them up to air dry. Avoid direct sunlight or heat sources, as excessive heat can cause the laces to shrink or become brittle.
- Reinsert the Shoelaces:
- Once the shoelaces are completely dry, reinsert them into your sneakers. Ensure they are threaded evenly and are not tangled.
Step 1: Soak in Soapy Water
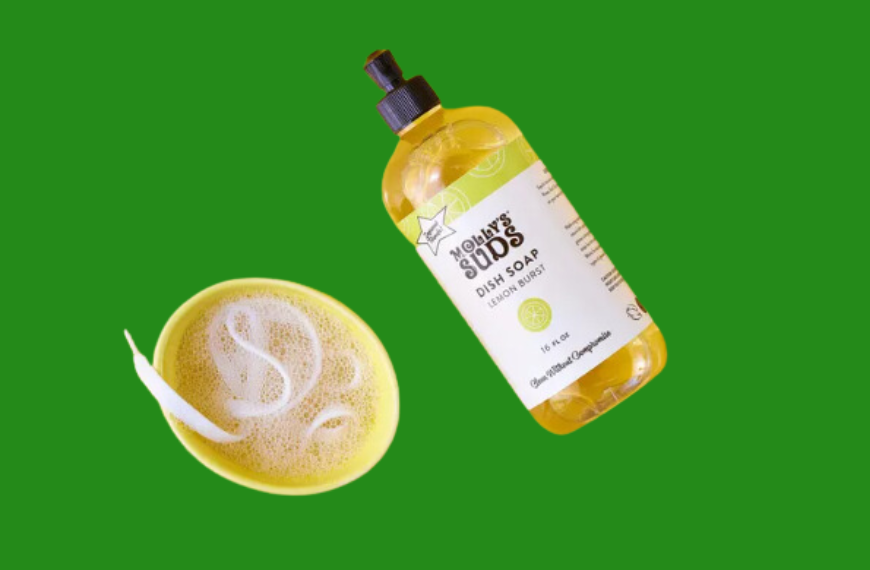
- Prepare the Soapy Solution:
- Fill a small bowl, basin, or sink with warm water. Ensure the water is comfortably warm but not hot, as excessive heat can damage the laces.
- Add a small amount of mild liquid detergent or soap to the water. About a teaspoon of detergent per cup of water is usually sufficient. Stir the solution to ensure the detergent is well mixed and evenly distributed.
- Submerge the Shoelaces:
- Place your removed shoelaces into the soapy water. Make sure they are fully submerged. If the laces are particularly dirty or stained, you might want to let them soak for a bit longer.
- Let Soak:
- Allow the shoelaces to soak in the soapy water for 15-30 minutes. This soaking time helps to loosen dirt, grime, and any stubborn stains, making the cleaning process more effective.
- Occasional Agitation:
- Occasionally agitate the laces in the water by gently swirling them with your hands. This helps the soap penetrate the fibers more evenly and loosens dirt that may be trapped in the laces.
step 2: Scrub
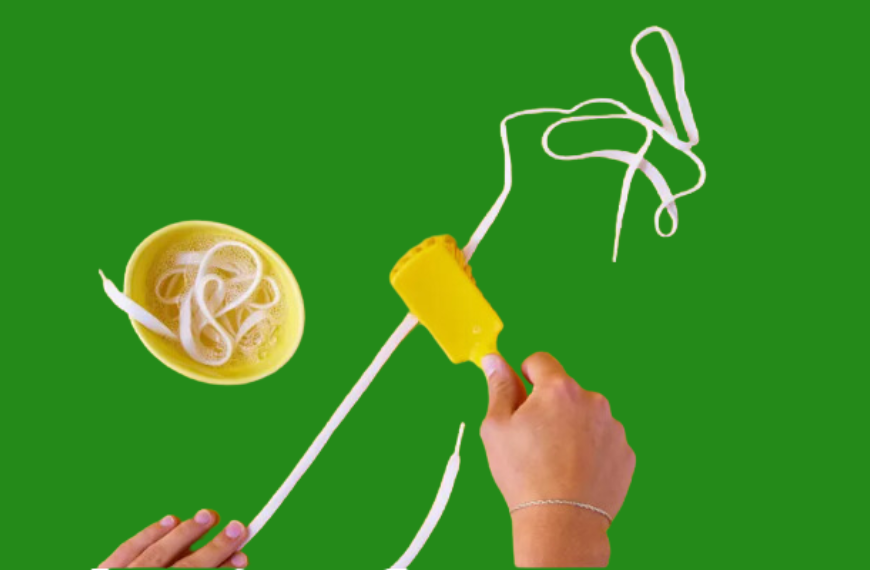
- Select a Cleaning Tool:
- Use a soft-bristled brush, such as an old toothbrush, or a clean, soft cloth. A toothbrush is particularly effective for scrubbing because its bristles can reach into the fibers of the laces.
- Scrub the Shoelaces:
- Remove the shoelaces from the soapy water, letting any excess water drip off. Hold the laces firmly but gently.
- Using the brush or cloth, begin to scrub the laces in a gentle, back-and-forth motion. Focus on any areas with visible stains or dirt. If using a toothbrush, apply light pressure to avoid damaging the laces.
- Work in Sections:
- If the laces are very dirty, work in small sections. This ensures that each part of the lace gets adequate attention and allows you to see where more scrubbing is needed.
- Pay Attention to Stains:
- For stubborn stains, you may need to apply a bit more pressure or scrub the area more intensively. For persistent stains, you can apply a small amount of stain remover or additional detergent directly to the stained area before scrubbing.
- Rinse Regularly:
- Rinse the laces under running water periodically to remove loosened dirt and soap. This prevents the soap from drying out on the laces and helps you gauge how much dirt has been removed.
- Avoid Over-Scrubbing:
- Be careful not to over-scrub or use excessive force, as this can damage the laces or alter their shape. The goal is to clean effectively while preserving the integrity of the laces.
Step 3: Hang to Dry
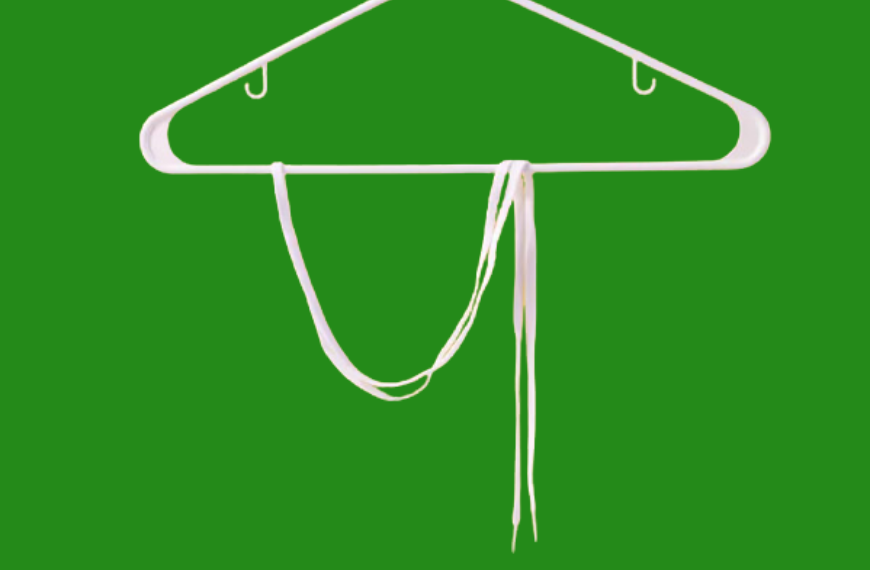
- Remove Excess Water:
- After scrubbing, gently squeeze the shoelaces to remove excess water. Avoid wringing or twisting the laces, as this can distort their shape and weaken the fibers.
- Prepare a Drying Area:
- Find a suitable place to hang the shoelaces for drying. A well-ventilated area is ideal to ensure they dry evenly and thoroughly. Avoid direct sunlight or heat sources, as these can cause the laces to shrink or become brittle.
- Hang the Shoelaces:
- Use a small hanger, a clothesline, or any suitable rack to hang the shoelaces. You can use clothespins or hooks to secure the laces if needed. Make sure they are hung in a way that allows them to hang straight and not become tangled.
- Ensure Proper Air Circulation:
- If hanging the laces indoors, place them in a location with good air circulation to speed up the drying process. If you’re hanging them outside, ensure they are in a shaded area to avoid direct sunlight.
- Check for Full Dryness:
- After a few hours, check the shoelaces to ensure they are completely dry. If they are still damp, leave them to hang until they are fully dry. They must be completely dry before re-threading them into your sneakers to prevent any mildew or odor.
- Reinsert the Shoelaces:
- Once the shoelaces are thoroughly dry, reinsert them into your sneakers. Make sure they are threaded evenly and are not twisted or tangled.
Read more : how to clean kizik sneakers
